Most Appropriate Ways for Setting up a Wireless Router
In this article, mywifi-ext.com show you some valuable and appropriate ways for setting up a wireless router. Do not think that it is easy and we will do sometime later. This process supposed to be done soon after you have unboxed your wireless router. It also gives a useful hand in NETGEAR Extender Setup for those people who acquire high-speed of internet all over the house.
Mywifiext.net: New Extender Setup
1. Connect your range extender with the wireless router.
2. Plug both the devices in, away from metal appliances, cordless phones, and electronic gadgets.
3. Open a web browser and type mywifiext into the URL bar. You can also type 192.168.1.250 if you see an error message while mywifiext.net login.
4. Type the login credentials.
5. Click enters.
6. The NETGEAR Genie home page will display. You just have to follow the positive responses given by this app until it asks you to click ‘finish’ to complete the setup.
Note: If you failed to find the login details, consider seeing them in NETGEAR WiFi Range Extender Manual.
In case, you find that the above-given process doesn’t work for you, then don’t delay in contacting our tech support team. For instant help and assistance call 1-888-674-6890 (toll-free).
Now, we will discuss with you some useful tips for setting up a wireless router. Router is the main element of your networking system. Without it, you can neither complete the process of NETGEAR Extender Setup nor access www.mywifiext.net.
1. Placement of your Wireless Router
The best location to place your router would be the central location of your house. In this way, you can get the maximum range of internet connectivity all over the house. But remember, this is not always possible because a router alone is not enough to give the highest internet connectivity. To turn dead zones to fun zones, consider switching to a range extender.
Also, wireless router supposed to be of latest technology. It shouldn’t be hidden inside the cabinet or back of any device. It should be openly on high shelf or table.
2. Make a Physical Connection
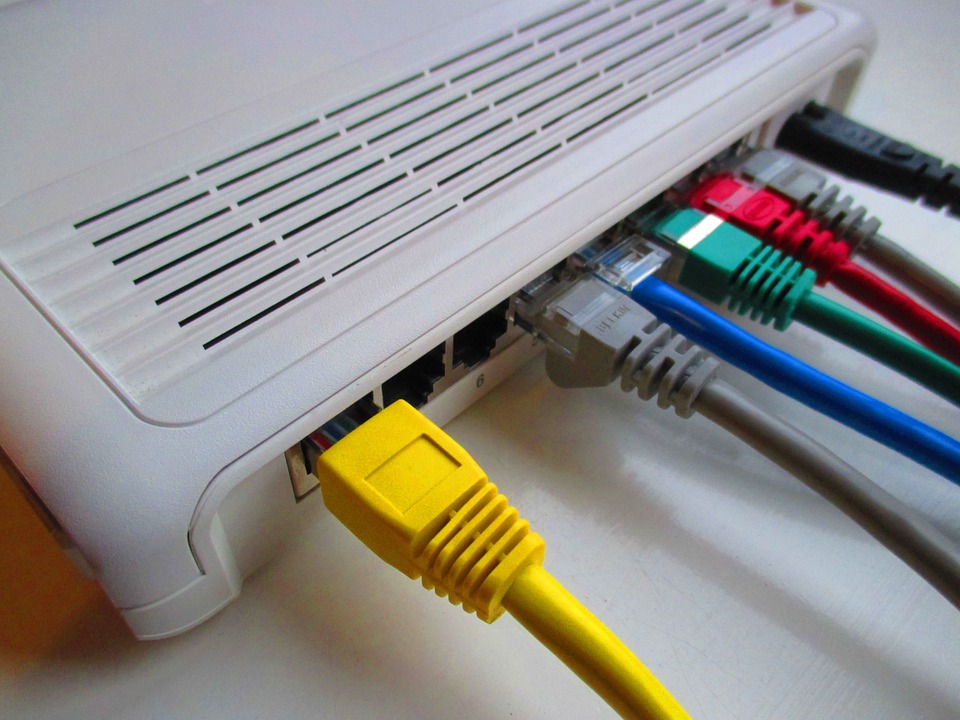
For this, you have to connect your existing modem with the wireless router via Ethernet cable. Remember, the modem you are using to connect your router shouldn’t be outdated. Place both the devices in the middle of your house away from Bluetooth devices, cordless phones, and electronic toys.
3. Connect your Computer with the Router
Now, what you have to do, grab an Ethernet cable and connect your PC or laptop with the router. Remember, the USB cable you are using to connect your device should be new and dust free.
Note: During the process of configuration, all the WiFi devices supposed to be turned off.
4. Register your Router’s MAC Address
Restart your router and plug it back again. Let the power LED lights on your router start blinking. Now, open a web browser, connect it to the internet and register your router’s MAC address. Do not ignore this step. It is very important for the process of New Extender Setup and mywifiext.net setup later.
5. Configure your NETGEAR Router
After connecting your modem with the router, open a web browser and type the default IP address of your device into the address bar. Enter the default login details. This step will take you to the ‘setup wizard’ screen. After that, NETGEAR Genie will automatically detect the type of secure internet connection you are using. If the ‘setup wizard’ doesn’t work for you, consider calling our tech support team immediately.
Once you have completed the process of installation and configuration, close all the tabs and disconnect your router with the modem and computer. Now, you are free to move your router to its intended location. But, the location should only be the central location of your house, away from interference creating WiFi devices.
It is also recommended that change the default SSID and password soon after the process of configuration.
Note: You can log into Mywifiext via default login only. You can change them after the process of your NETGEAR Extender Setup.