Tips for Setting and Securing the NETGEAR Nighthawk R7000P Router
The NETGEAR Nighthawk R7000P (AC2300) router is known as the best wireless device in today’s world of modern technology. This is meant for those games, videos, and movies lovers that often go for online streaming and gaming. Its feature of advance beamforming and MU-MIMO technology can connect multiple devices at the same time. Before getting started, you will have to perform the process of NETGEAR Router Setup to make it secure.
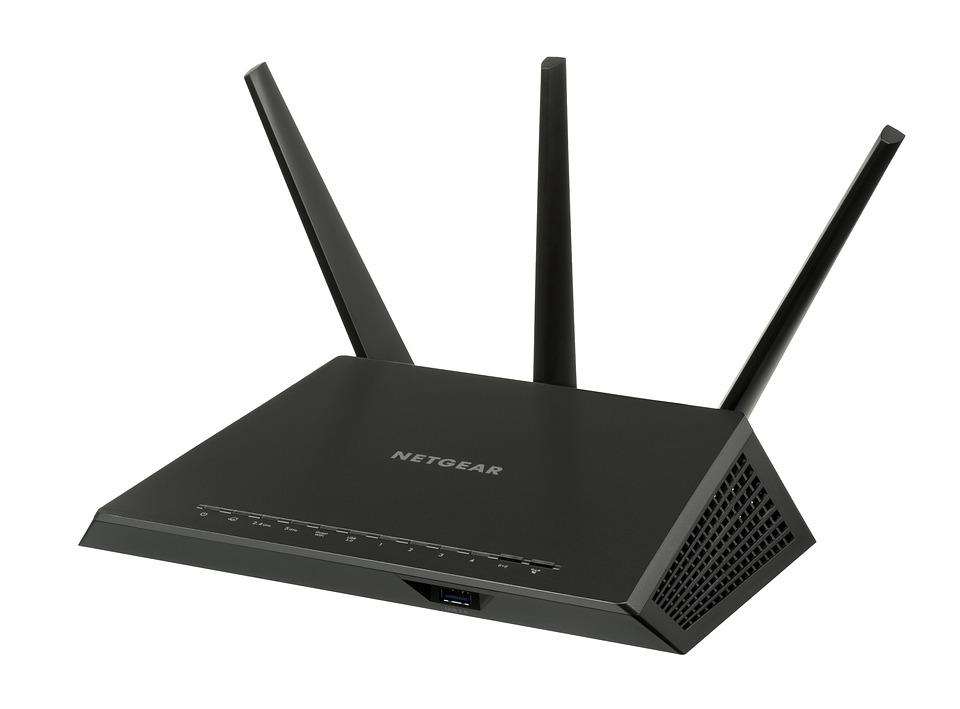
Initial Setup of NETGEAR Nighthawk R70000P Router
- Unbox your router and remove the antennas cap from the back of your smart device.
- Attach the three external antennas with the router in straight-vertical position.
- Connect it with your existing modem and plug them both into electric wall socket. The power outlet shouldn’t be damage and both the devices supposed to be away from heat and dust.
- Connect your computer or laptop with router and open wireless internet settings on it.
The WiFi icon is on the top of Macs and bottom right corner of the windows screen.
- Choose the 5GHz band or any.
- Type the default password in the box named security key.
- For Router Login, go to setup page by typing routerlogin.net into field of the address bar. If it doesn’t work, try using the default IP address (type this instead of mentioned URL).
Secure your Router
Your latest version of router comes with password that is setup by default by the device manufacturer. If want you to change the login credentials soon after the process of NETGEAR Router Setup. Give your device a gift of unique and strong password that would be hard for others to guess and detect.
Select a security question and create a new password under admin account settings followed by NEXT. The password you construct supposed to be about 15-16 characters that doesn’t contain any dictionary words.
Admin Account Settings
This is used to help its users to get into Router Login page (web interface). So, you are supposed to change the admin details in order to secure your network. Avoid downloading those applications that are not supported by your networking devices. It may hack and even damage your device and steal all your private and confidential data including images, files, and videos.
Note: Make sure that you keep the NETGEAR Firmware up-to-date. If it is available, download it. If it is not, skip this step click OK and move forward.
You will now see a confirmation screen that says “you have successfully completed installation”. If not, don’t worry and immediately contact our best technicians working worldwide on toll-free number 1-888-829-5515.
- Once you have successfully logged in with your newly build safe and secure username and password.
- Click on the icon Log In and then hit the icon Wireless.
- Type the SSID (network name) and password followed by Apply.
- After that, click on that network whose range you want to extend.
- Get the best signals ever in every corner of your house without any buffering in videos.
Enable Guest Networks
- Setting up a guest network via NETGEAR Genie app is the best way to keep visitors away from your network. This feature of guest control is meant for those guests who often visit you. What you have to do, from the settings page, hit “Guest Network”.
- After that, check “Enable Guest Network” set a password, name your network (that should be unique and strong about 8 characters).
- Click Apply.
Looking for NETGEAR Support? Your search ends here. We are the finest among all. We are the hope of the people. So, don’t hesitate and delay to call us on above shared toll-free number. We will never let you down. We have instant solutions to your annoying and brain-teasers quires.